
11
Nov
2013
Standalone Temperature and Humidity Control
|
Category: Electronics
|
Continuing from Standalone Arduino and Thermometer and Humidity Control, created a standalone thermometer and humidity control. Added the following features:
- Added a push-button to allow controlling the setpoint temperature
- Used the EEPROM library to save the setpoint temperature
- Enclosed everything in an extension cord with a power supply
- Left a socket to update programming as required
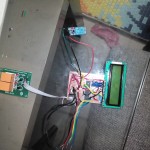
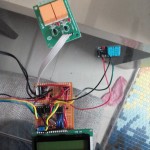
Photographs:
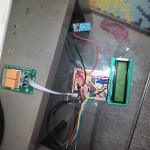
Parts List:
- Atmega 328P-PU (without bootloader)
- 16 MHz Crystal
- 2 x 22 pf capacitors
- LM 7805
- 1 uF + 10uF Electrolytic capacitors
- 10k Resistor
- DHT11 Breakout Board or similar (http://cgi.ebay.in/ws/eBayISAPI.dll?ViewItem&item=171158648201#ht_1485wt_1220)
- 2 Channel Relay Board
- 1 push-button switch
- 9-12V 1Amp power supply
- Extension cord
- Wires
- General purpose PCB
All in all cost me less than Rs 800/- ($13) and was loads of fun to make.
Fritzing Layout:
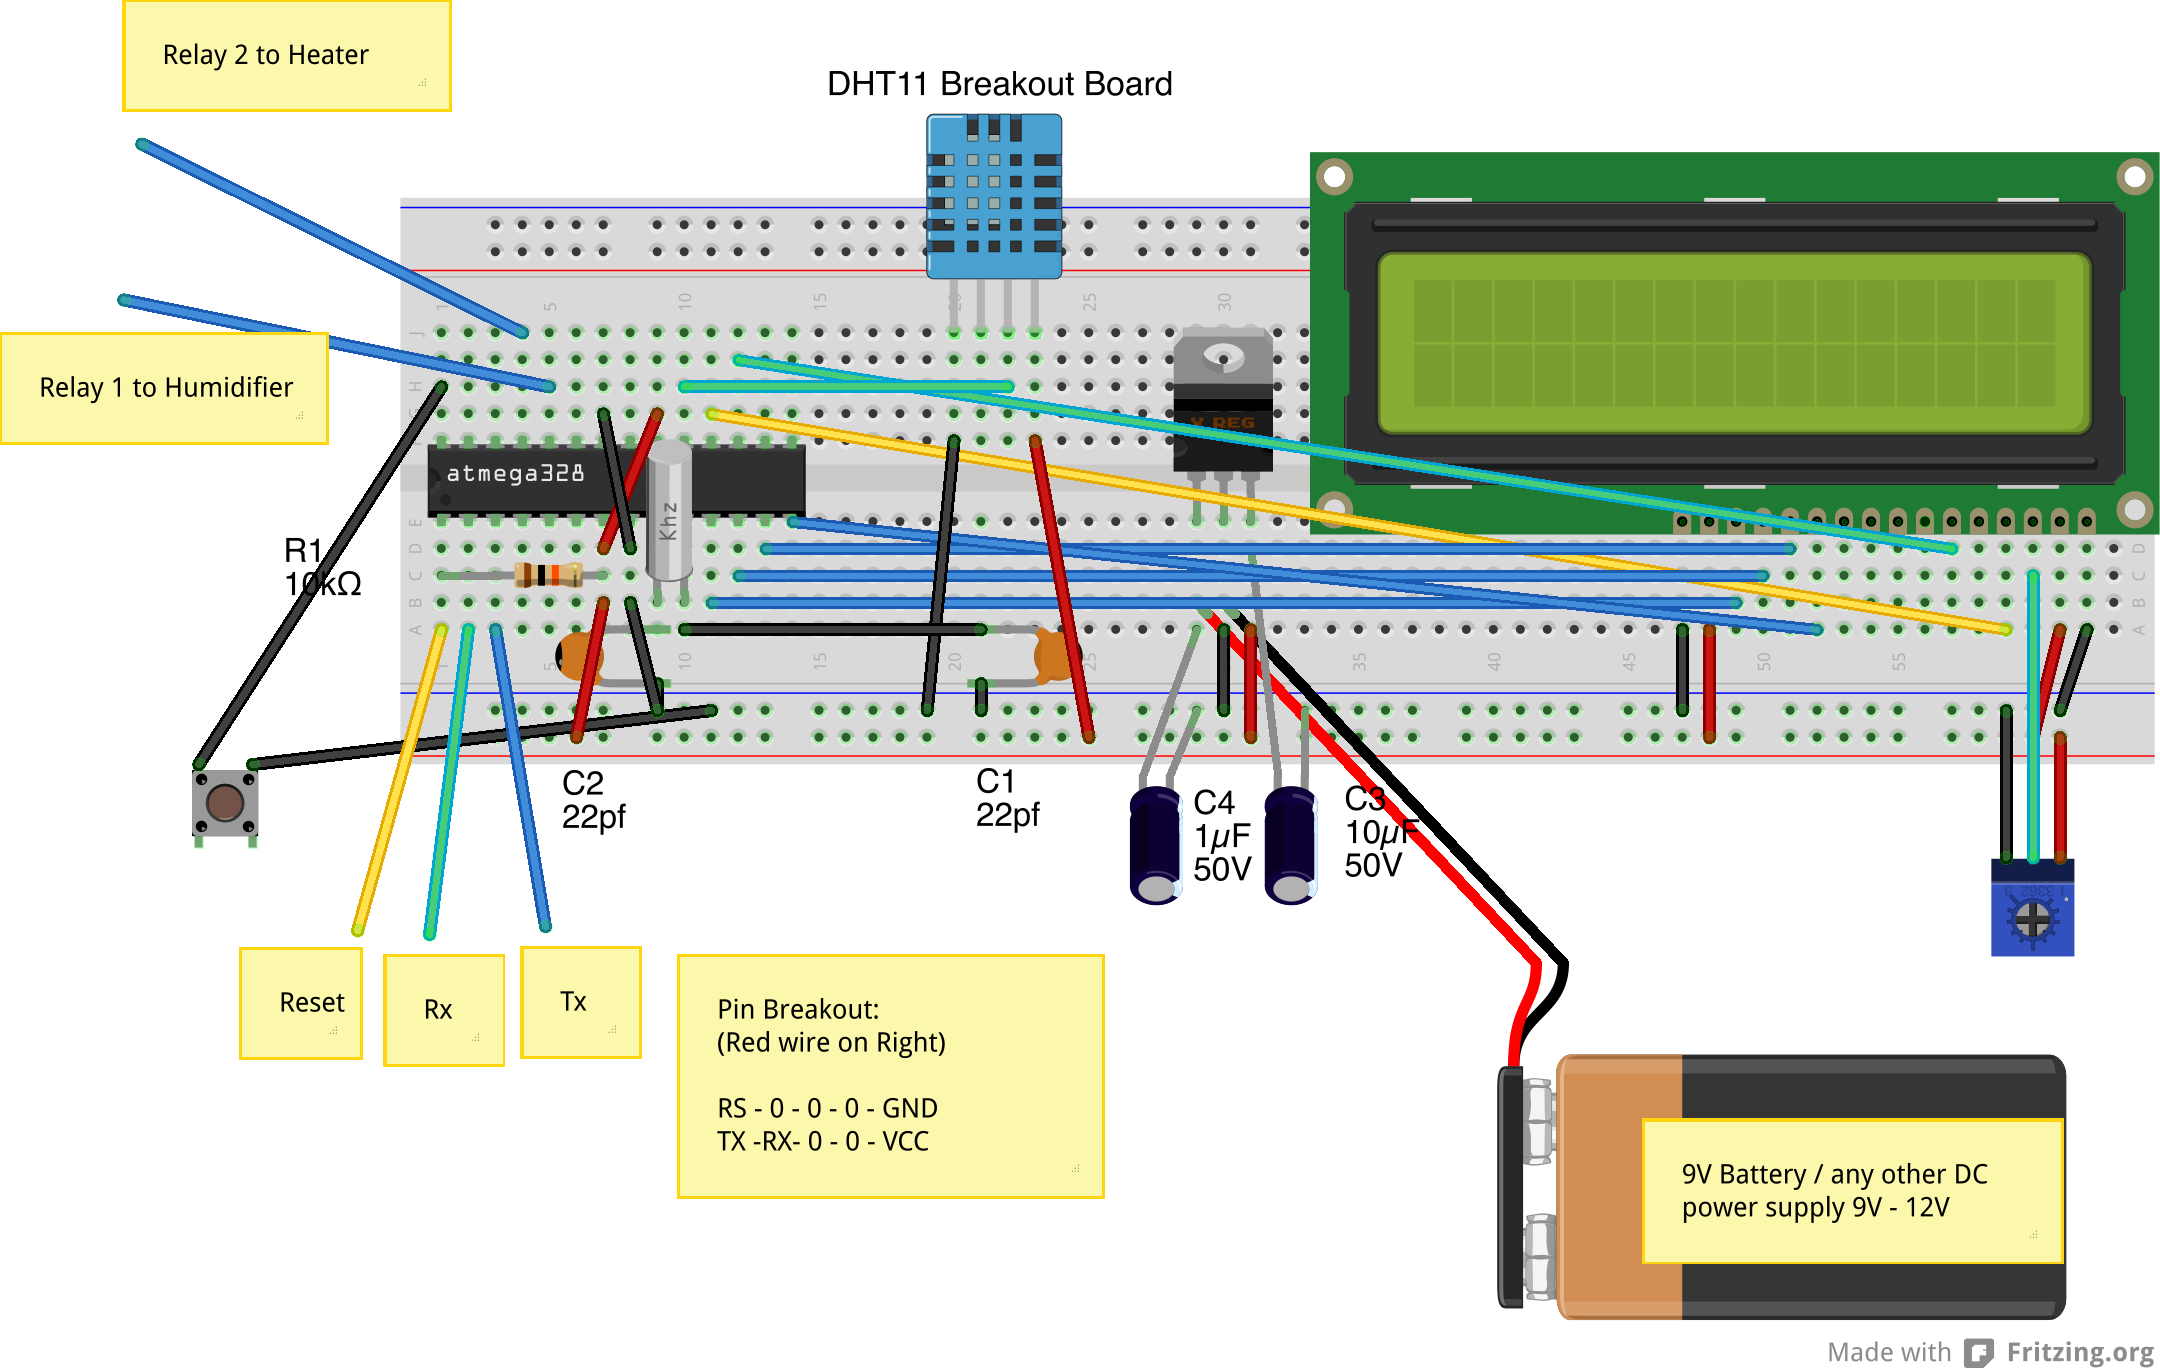
I know it looks extremely confusing – but this was the best I could do.
Code:
#include "EEPROM.h"

#define RELAY1 A1           // Connect humidifier to Relay1
#define RELAY2 A2           // Connect heater to Relay2
#define TEMP_SET 25.0       // Starting Temperature
#define HUM_SET 50.0        // Threshold humidity
#define SWITCH_PIN A5        // Connect the switch between pin A5 and ground
#define CYCLE 300           //Time in seconds for each cycle

#include "LiquidCrystal.h"
#define LCD_RS 11           // * LCD RS pin to digital pin 12 - Green
#define LCD_EN 12           // * LCD Enable pin to digital pin 11 - Yellow
#define LCD_D4 5            // * LCD D4 pin to digital pin 5 - Blue
#define LCD_D5 6            // * LCD D5 pin to digital pin 6 - Blue
#define LCD_D6 7            // * LCD D6 pin to digital pin 7 - Blue
#define LCD_D7 8            // * LCD D7 pin to digital pin 8 - Blue

#include "dht11.h"
#define DHT11PIN 13

dht11 DHT11;
LiquidCrystal lcd(LCD_RS, LCD_EN, LCD_D4, LCD_D5, LCD_D6, LCD_D7);
int temp_set;

void setup() {
  pinMode(DHT11PIN, INPUT);
  pinMode(SWITCH_PIN, INPUT_PULLUP);
  pinMode(LCD_RS, OUTPUT);
  pinMode(LCD_EN, OUTPUT);
  pinMode(LCD_D4, OUTPUT);
  pinMode(LCD_D5, OUTPUT);
  pinMode(LCD_D6, OUTPUT);
  pinMode(LCD_D7, OUTPUT);
  pinMode(RELAY1, OUTPUT);
  pinMode(RELAY2, OUTPUT);
  lcd.begin(16, 2);
  Serial.begin(9600);
  if(EEPROM.read(0) >= 31){
    EEPROM.write(0,TEMP_SET);
    temp_set=TEMP_SET;
  }
  else {temp_set=EEPROM.read(0);}
  lcd.print("Setpoint: ");
  lcd.print(temp_set);            // Display the setpoint temperature for 2 sec
  delay(2000);
}

void loop() {
  // put your main code here, to run repeatedly:
  int chk = DHT11.read(DHT11PIN);
  // Serial.print("Read sensor: ");
  switch (chk)
  {
    case DHTLIB_OK:
               // Serial.println("OK");
                break;
    case DHTLIB_ERROR_CHECKSUM:
               // Serial.println("Checksum error");
                break;
    case DHTLIB_ERROR_TIMEOUT:
               // Serial.println("Time out error");
                break;
    default:
                lcd.println("Unknown error");
                break;
  }
  lcd.setCursor(0, 0);
  Serial.println(DHT11.humidity);
  lcd.print("Humidity: ");
  lcd.print((float)DHT11.humidity, 2);
  lcd.setCursor(0, 1);
  lcd.print("Temp: ");
  lcd.print((float)DHT11.temperature, 2);
  Serial.println(DHT11.temperature);
  if(DHT11.humidity < 50){
    digitalWrite(RELAY1, HIGH);
   // lcd.print("H1");
  }
  else {
    digitalWrite(RELAY1,LOW);
    // lcd.print("H0");
  }
  if(DHT11.temperature <= temp_set){
    digitalWrite(RELAY2, HIGH);
    // lcd.print("T1");
  }
  else {
  digitalWrite(RELAY2,LOW);
  // lcd.print("T0");
  }
  for(int l=0; l<= CYCLE * 4; l++){     if(digitalRead(SWITCH_PIN) == 0){       temp_set++;        if (temp_set > 30) {temp_set=TEMP_SET;} // Cycle between TEMP_SET and 30
      lcd.clear();
      lcd.print("Setpoint: ");
      lcd.print(temp_set);
      EEPROM.write(0,temp_set);
      delay(2000);
      break;
    }
    delay(250); // delay to debounce
  }
}
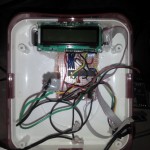
Final Result:

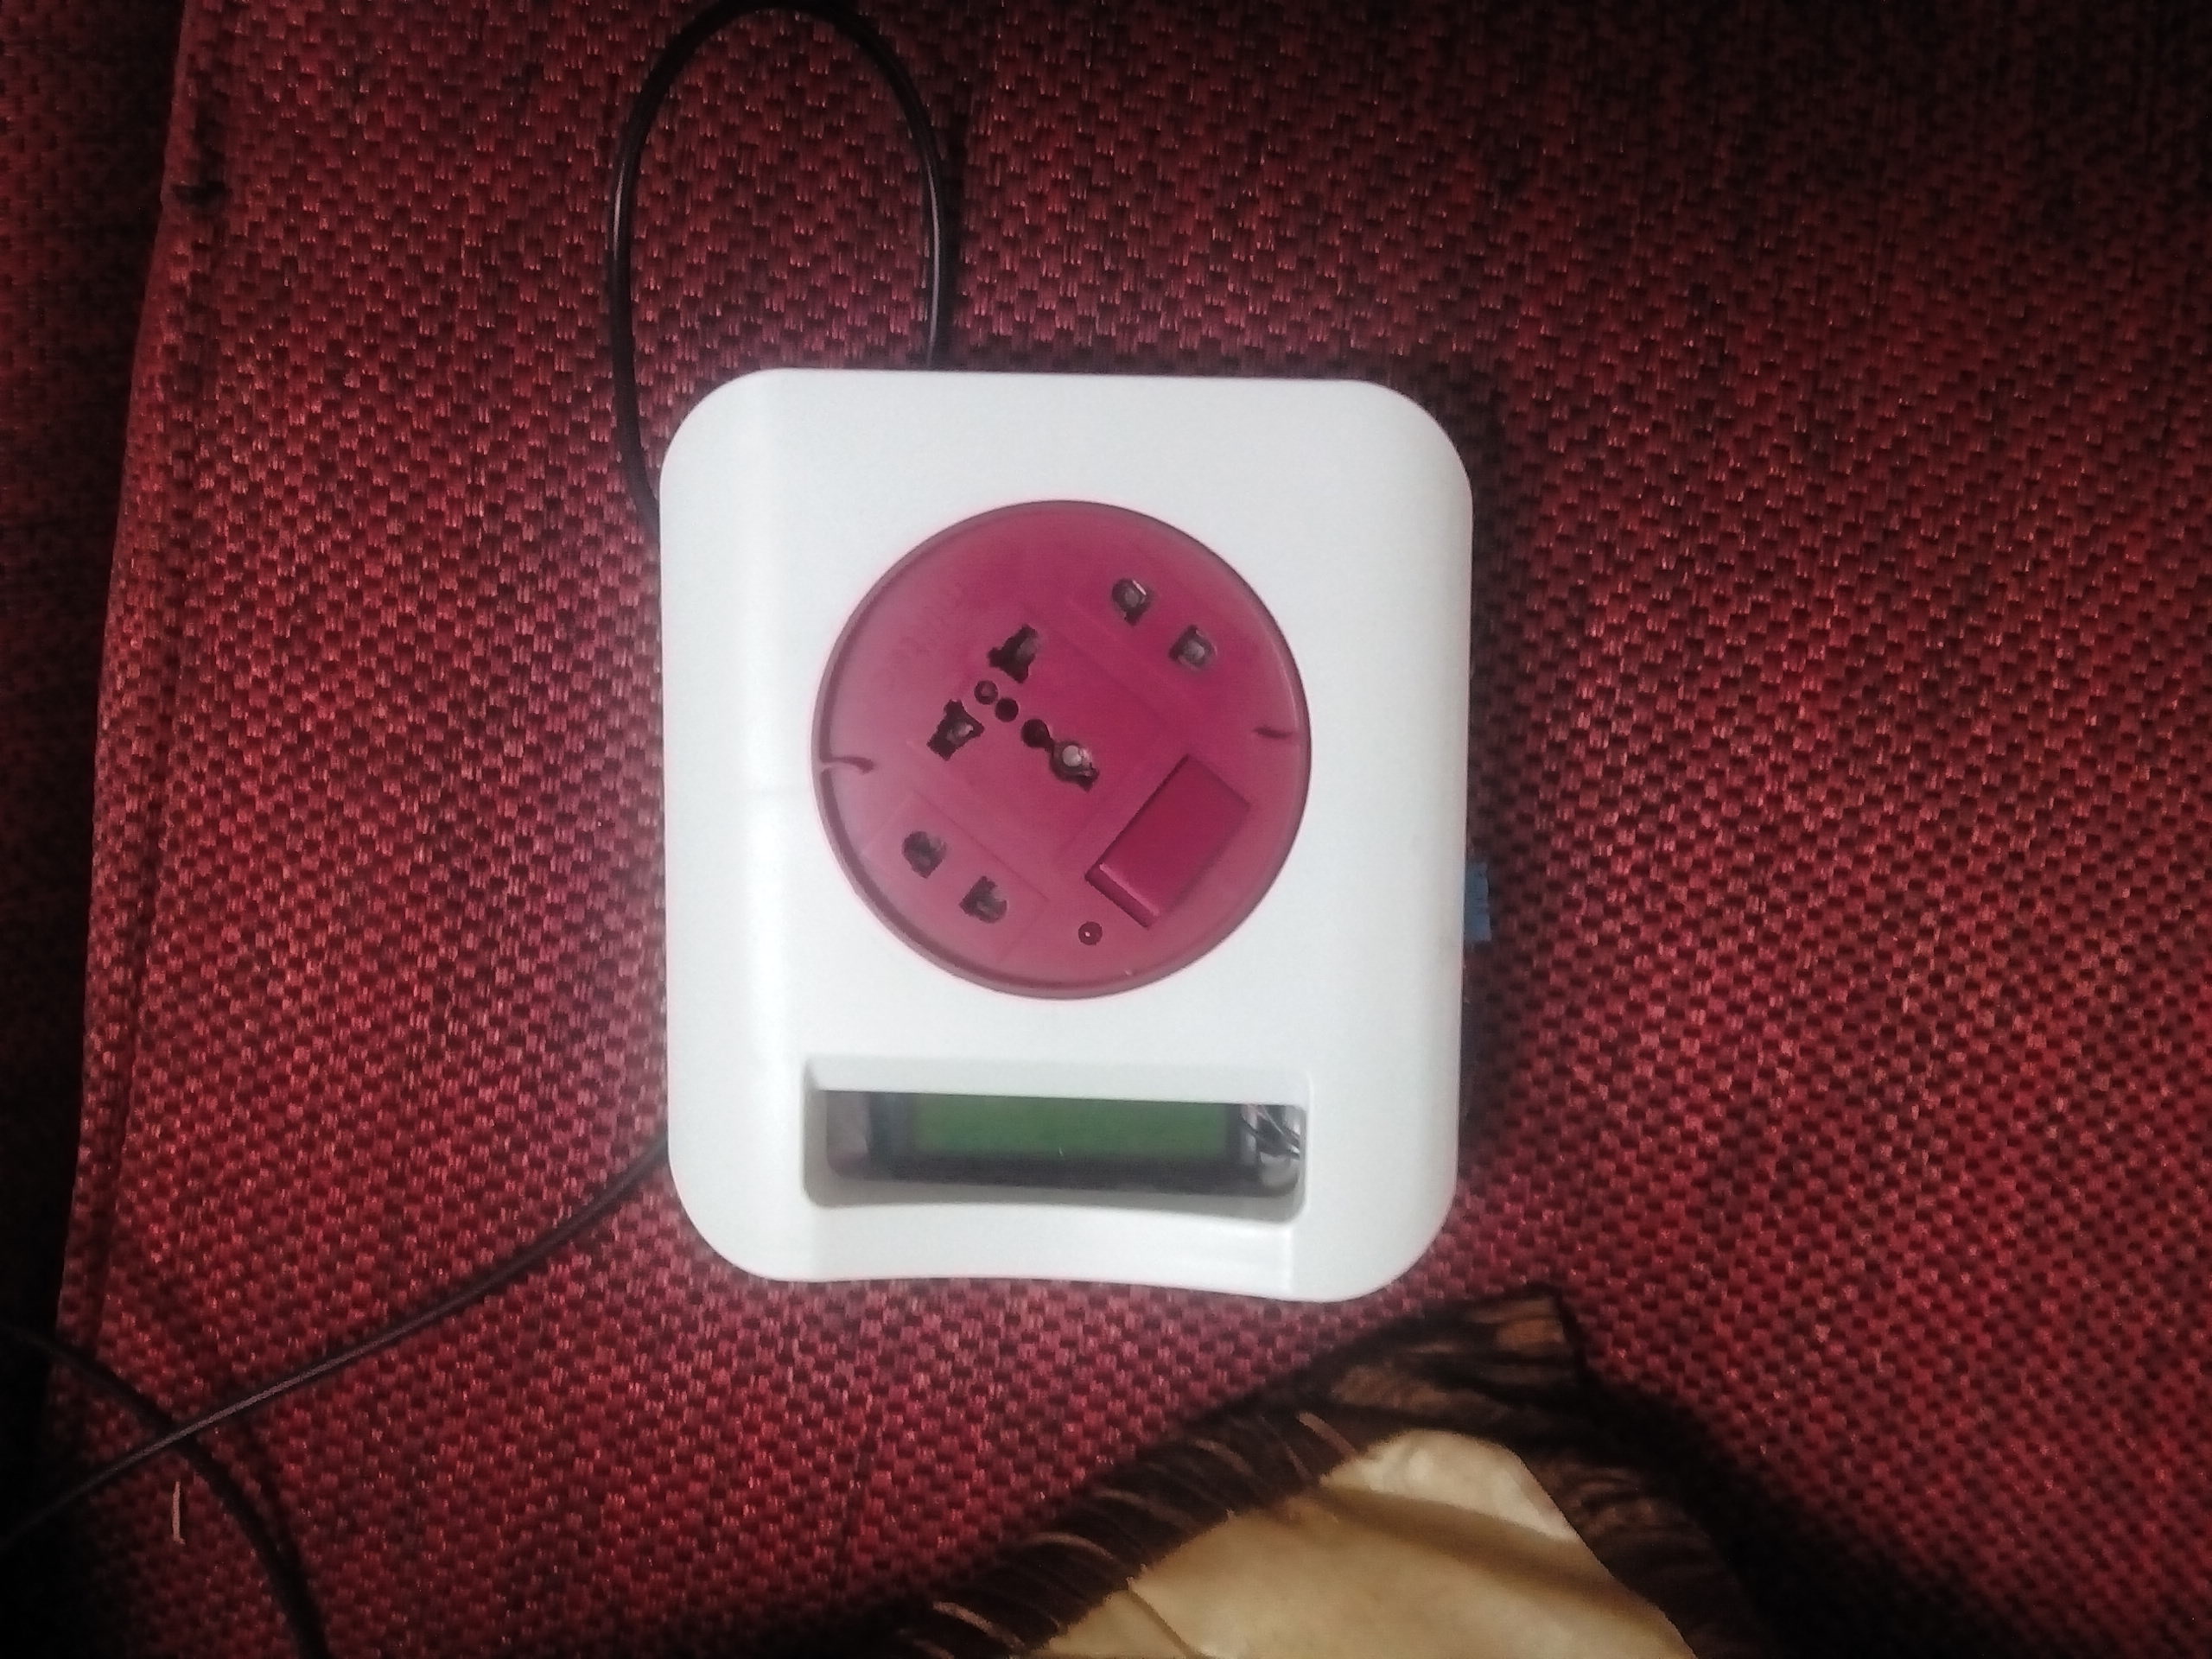
Hope you like it – comments welcome.
Wondering how did you manage to upload all to the Atmega 328P-PU, and what HW did you used?
Hi Aleza, Please see my post https://dushyant.ahuja.ws/2013/10/standalone-arduino/
I’ve basically created a standalone arduino, connected it to the USB port through an arduino clone (without the chipset) and programmed it using the arduino IDE.
Let me know if I can help in any way.
Just realised – that this gadget is more of a framework, rather than just a temperature and humidity controller. e.g.
1. I can remove the DHT11 for a PIR sensor; connect a lamp instead of a heater – and this becomes a motion controlled light
2. As the Rx and Tx pins are available outside the package (for programming), I can simply connect a bluetooth module and make this bluetooth controlled
3. I can connect a soil hygrometer – and use it to switch on a pump to water plants when the soil becomes dry
4. Create a souse-vide cooker by replacing the DHT11 with an LM35
..
hi can I use this as my reference?
Sure – be my guest
Hi i know this is old project but i love this is cheap simply and can be useful to many aplications only i really like to could have option to set humidity values as u did with temperatures can u try to upgrade your project into this option by second button dedicated for humidity i will be very grateful. Regard
@przemek – should be really easy to do – if you read the code – it’s all there. I don’t have the hardware handy anymore – so can’t really help.